Mitutoyo America’s eLearning Courses are designed to give end-users unique, active learning experiences with tools and gages of all varieties. With these unique educational experiences, end-users can open the door to quality and extend the life of their tools with proper use, care, and replacement procedures. Courses are designed by our employees and certified through strict calibration practices and procedures, to combine accuracy and safety through all courses. These courses cover common practices, proper measurement procedures, and detailed operations for more experienced users. Digital versions of the tool are available for visual reference, but it is recommended to have the tool or gage available during the course.
Prerequisites:
N/A
Course Materials:
The Quick Image with M3 eLearning course provides a detailed walkthrough on Mitutoyo’s QI for new users, while also helping experienced users brush up on the new M3 measurement capabilities.
The following topics are covered in this course:
1) Machine Overview
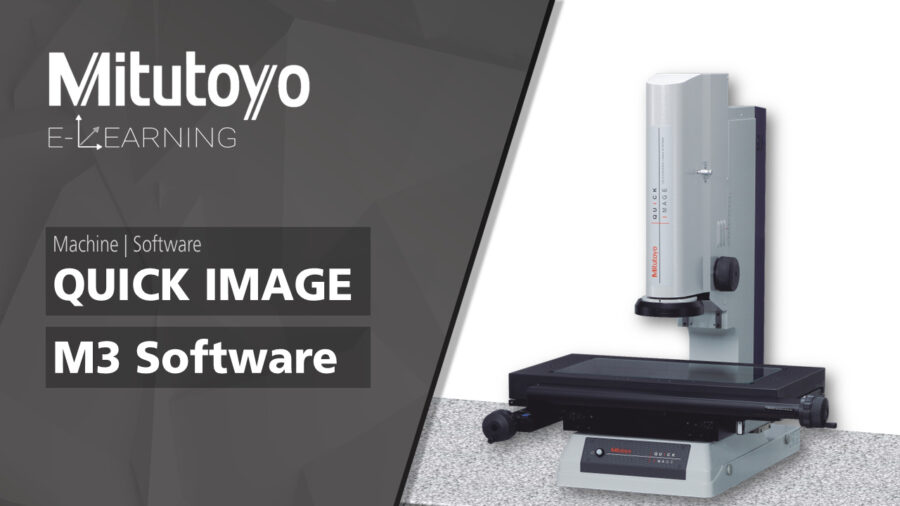
Welcome to the Quick Image with M3 LMS Course. The Quick Image (or QI) machine features and capabilities will be highlighted in this course, with explanations on how to properly utilize the machine and it’s software. Learn more about the differences between the Mitutoyo QI-A and the QI-C machines, the stage sizes, and how you can identify what machine you have.
2) System Operation
Basic functionality of the machine will be covered in this section. You will learn how to properly power up and shutdown the machine, along with basic movements of the stage. Learn how the X and Y Axis knobs control your part while measuring, how to focus the camera lens on your part, and what the significance of the Resolution Selector is on your gage.
3) User Interface
The M3 Interface is the topic in this section. You will learn how the program interface is laid out – from the Viewports available, to what Screen can be found in each viewport. You will also learn what each Screen details – from the live camera feed on your stage, to how to view measured results.
4) Menus
Each menu within the M3 interface is detailed in this section. You are introduced to the following menus: Measurement Menu (Zoom Controls, Feature Construction, Probe Selector, Light Controls, etc.), System Toolbar (Selecting Viewports, Results Windows, Change Measuring Unit, etc.), and System Menu (New Part, Save Part, Load Part, M3 Settings, Change Profile, etc.).
5) Video Probes
Each Video Probe offered within the M3 Software is covered in this section. Users will be introduced to the four probing options available (Standard Crosshair, Active Crosshair, MeasureLogic Probe, EyeMeasure Probe), as well as how to use each probe to take measurements.
6) Lighting
An introduction to how to use the lighting controls within the M3 Software. The software is directly controlling the three lights found on your machine – your Stage Light, your Ring Light, and your Coaxial Light. The software will also teach you how much light is necessary to measure your part accurately.
7) Feature Measurement
This section begins with learning how to properly construct features within the M3 Software. From learning how to create points, lines, arcs, or slots on your part, to building features. The two methods for measuring features using the MeasureLogic Probe are also covered: Explicit versus Automatic. M3 also allows users to change feature types after being measured in this section, as well as introducing how to apply distances, angles, and other GD&T to your part.
8) Measurement Tolerancing
After learning how to properly build features, you will walk through how to apply tolerances to the features you’ve constructed. Users will get a demonstration on how to apply nominal data, tolerances, or create group tolerances for parts measured within the software.
9) Part Alignment
This section details the importance of Reference Frames within the M3 Software. Learn how Reference Frames can be used to locate and identify part features based on datums, skews, or patterns constructed or saved.
10) Part Program Generation
Part Programs can be used to measure multiple parts in succession, or for parts to be measured at a later date. This section teaches you how to create, save, recall, run, and clear part programs. You will also learn to tolerance your measured values within your program. This is all available in the Results Window, where your program data, tolerances, and other specified information is displayed in a printable report window.
11) FOV Programming
Programming for the Quick Image with M3 can be performed on parts located entirely within the field of view. This section teaches users how to manually playback a simple measurement check, all the way up to a toleranced coordinate system with markups, reports, and other M3 functions. Learn how the FOV Auto Play function can create an automated output based on similar pattern recognitions. Users will also understand how to utilize the Program Finder, which will also automatically identify patterns for program playback.
12) Image Stitching
This section will explain how users can measure parts that are larger than the field of view (but still fit on your Quick Image Stage). This section will help users understand how to create, save, measure, and tolerance “Super Images” that are created with image stitching – as well as creating custom stage sizes for parts. Once a super image is constructed, users will also learn how to import and apply overlays.
13) Profiles
End-users can learn how to utilize digital overlays with the Profile Feature Menu. Learn how to apply CAD Overlays and use additional features like Best Fit of a Line.
14) Editing Programs
Users learn how to edit programs that have already been created or saved in this section. See how to adjust program properties, change feature tolerances, add or remove program steps, adjust lighting, play/play program from here, add user messages or data requests, and re-measure features.
A certificate of completion will be awarded to the end-user for completing the course.
| Course | Standard Price |
|---|---|
| STV-173: Quick Image with M3 Software Training | $300 |