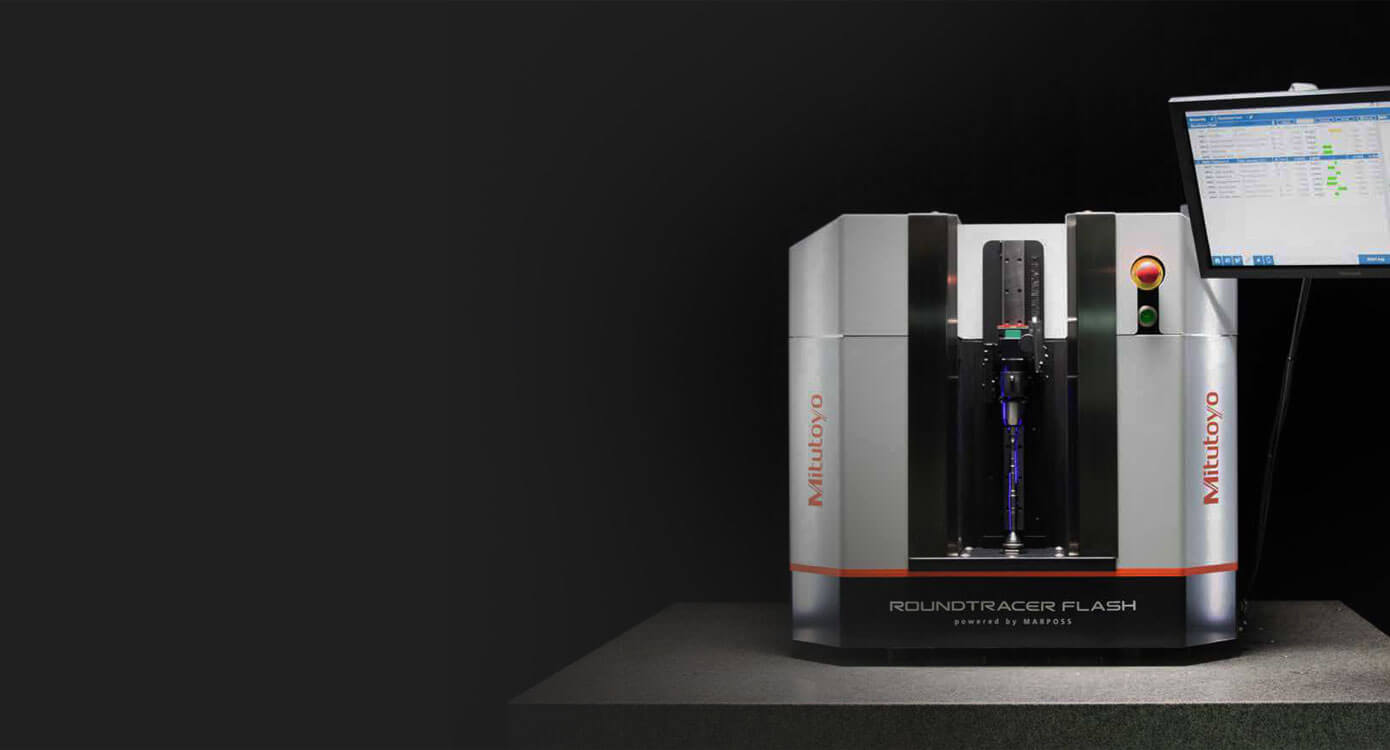
The Roundtracer Flash is an optical measuring unit based on side-by-side two-dimensional image architecture. Images are acquired by multiple state-of-the-art sensors and are perfectly combined to generate a single workpiece image containing zero discontinuities or gaps at stitching edges. As a result, the Roundtracer Flash is two times faster than traditional linear scanning solutions – capable of measuring parts up to 300 mm in length without any vertical movement of the sensors or the part itself.
An exciting new addition to the Mitutoyo form measurement line
The Perfect Combination of Precision and "Flash" Cycle Time
The 2D image architecture sets a new benchmark in the measuring industry, providing significant advantages.
High Speed
Unrivaled measuring speed, thanks to the no Z-axis movements. Full 2D optic.
Image Consistency
Complex profiles and part geometries are acquired inside the same image frame.
Axial Run-out
The 2D image frame allows for the entire surface to be captured dynamically, at each angle, during the part rotation.
Thru-holes Measurement
Only a few milliseconds are needed between the image acquisition and the measurement execution.
| FEATURES: | BENEFITS: |
|---|---|
| 2D Image Architecture | State-of-the-art area image sensors can perform many micrometric-precision checks on parts with unprecedented speed. |
| Unrivaled Measuring Speed | With the absence of Z-axis motion, the optical acquisition of the complete part is performed in mere seconds. Execute 100 static measurements in just two seconds. |
| Static & Dynamic Mode | Dimensional, position, and form analysis can be performed in static or dynamic mode for maximum flexibility. |
| Easy Part Loading | Open loading area with no obstructions and an ergonomic tailstock system for easy part clamping. Simply load the workpiece and start the measuring cycle. |
| One-Click Measuring | All measurement cycles can be easily started by one-click activation on the Roundtracer Flash or by an icon on the touchscreen. |
| Graphical User Interface | A state-of-the-art graphical user interface with a touchscreen monitor provides excellent ease of use. Standard monitor arm provides more flexibility and freedom. |
| Superior Usability | Intuitive user interface provides easy interpretation of measurement results, part detail images, smart search function and more for simple operation. |
| Durability | Fixed position sensors mean there is no mechanical stress from vertical movement of the sensors or the part itself. This provides stable performance over millions of cycles with minimal maintenance requirements. |
| Integrated USB Hubs | 7 ports are available for connections to printers, code readers, and other external devices. |
Reliable Performance in Any Environment
Providing accurate quality control in both laboratory and workshop conditions, the Roundtracer Flash is ideal for automotive, electronics, aerospace and medical applications.
- Cylindricity
- Coaxiality
- Straightness
- Roundness
- Flatness
- Symmetry
- Parallelism
- Perpendicularity
- Thread inspection
- Diameter
- Length
- Radius
- Chamfer
- Angle
- Radial run-out
- Axial run-out
- Concentricity
- Screws
- Valve bodies components
- Small cam shafts
- Transmission shafts
- Electric motor shafts
- EV rotors
- Turbochargers
- Connectors
- Fasteners
- CV joints
Request an Assessment
Discover the unprecedented speed, precision and flexibility of Mitutoyo’s new 2D optical measuring unit. Schedule an in-person demo or virtual assessment to see the Roundtracer Flash in action.

